Beauty
Pro Makeup Artists Explain How To Nail The Ambient Aura Makeup Trend
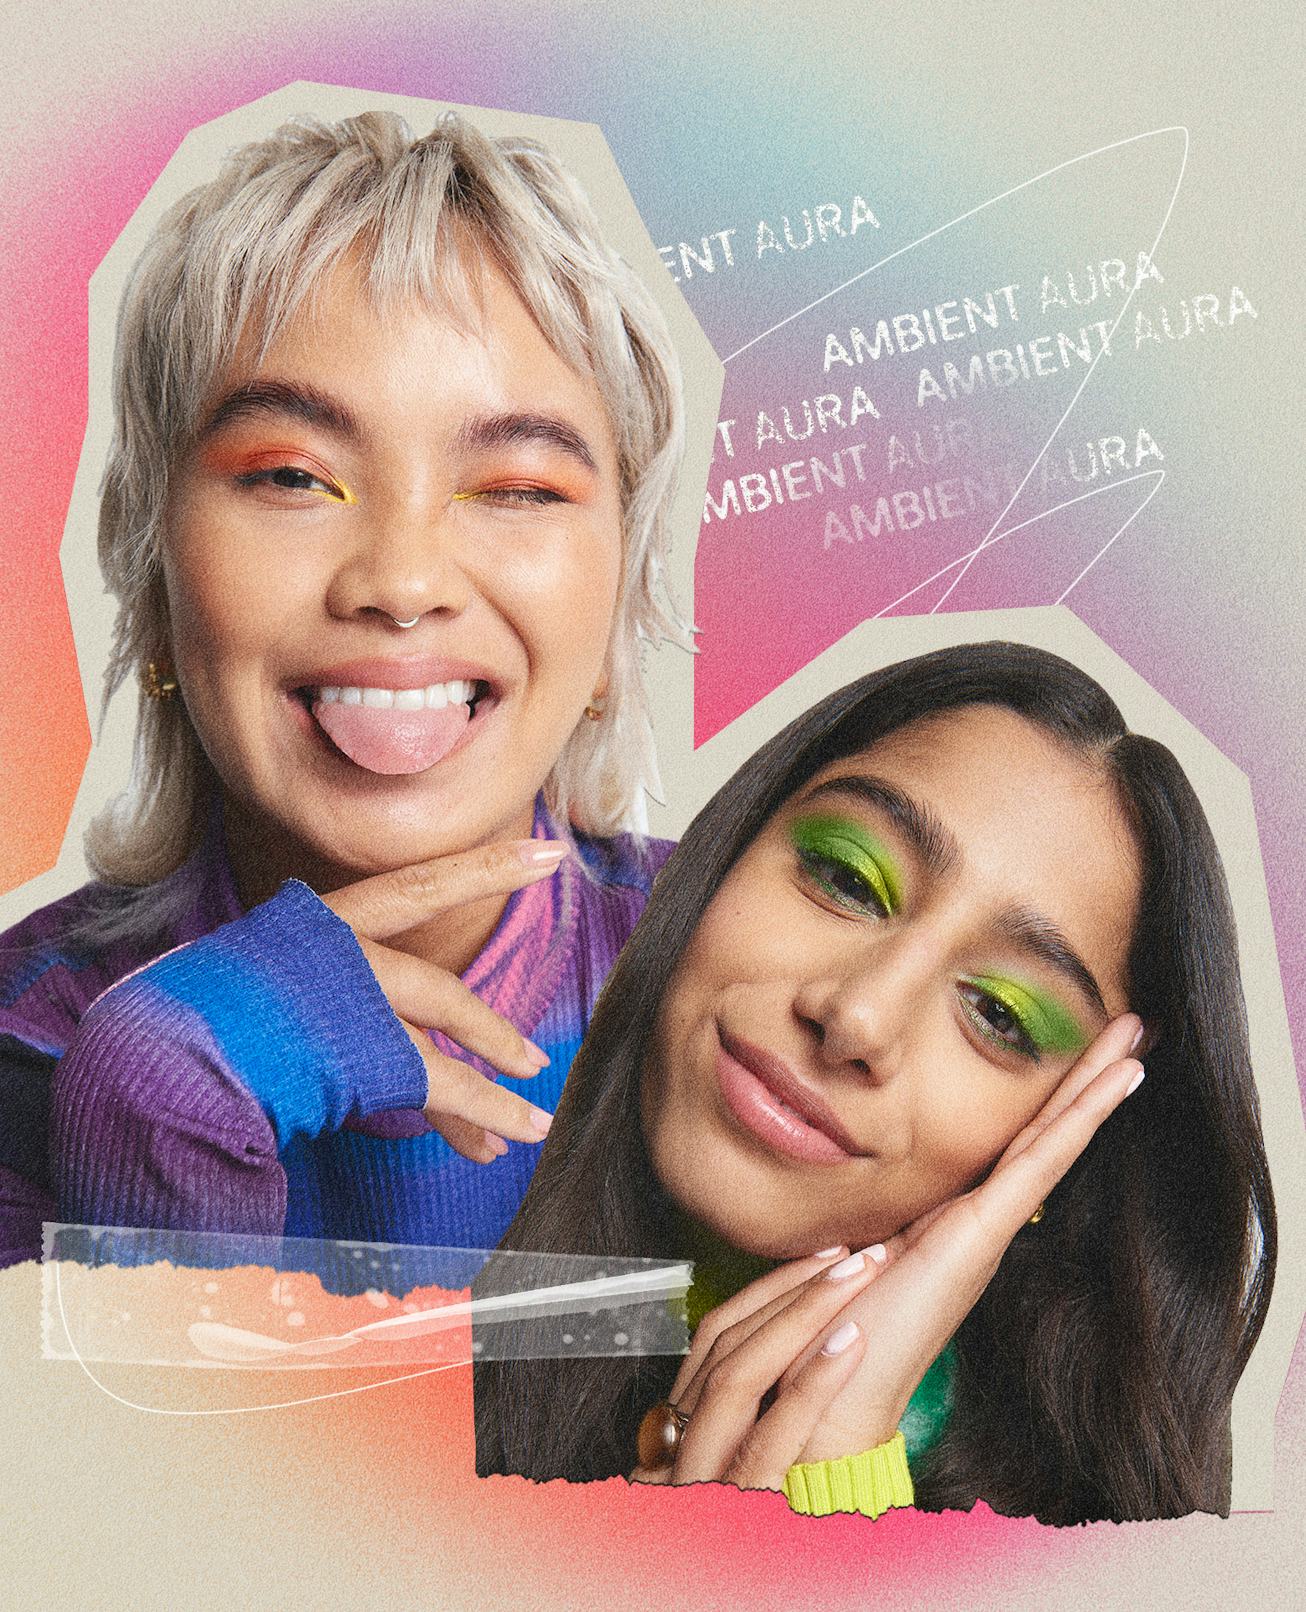
We asked two experts to share their best tips for getting the bold, graphic look of ambient aura makeup for yourself.
lFirst, there was dopamine beauty, which was all about joyful makeup looks. And now, the ambient aura trend is here to take that to the next level — think of it as a dreamy, glittery riff on the former. “This trending beauty look combines bold and bright colors with accents of glitter and contrasting colors for a celestial, iridescent look,” says Deney Adam, makeup artist and Ulta Beauty Pro Team member.
Aside from being fun and refreshing, it’s also great timing. “It’s playful and dramatic, and will be a big hit as we head into fall and the holiday season,” says celebrity makeup artist Courtney Hart. And while most of the focus of ambient aura makeup is on the eyes, you can also experiment with the trend on your cheekbones, lips, or even brows, she adds. Here’s a breakdown for pulling it off with ease.
Step 1: Start with an eye primer
Whether you’re sticking with more neutral tones or going rainbow-bright, it’s worth investing in your eye makeup with a primer, such as e.l.f. Cosmetics Power Grip Primer, for a few important reasons. “This will give the shadow something to stick to and help the color stand out more,” says Hart. As a result, Adam says, it’ll also extend the lifespan of your shadow.

Step 2: Apply your base shadow

Adam is a fan of starting with a first, strategic layer of eyeshadow. “I recommend selecting a base shadow that will complement your skin tone and layering it with contrasting colors to make it pop,” he says. For instance, you can choose between a blue, purple, or pink base, depending on your personal preferences, and treat it as your backdrop. (With Juvia's Place Culture Eyeshadow Palette, you’ll have endless options to choose from.)
If you want your eye makeup to last all day and night, you can also prep with a cream shadow before tapping a powder shadow (in a similar color) over it, according to Hart. “Let that set for a minute or two” before doing any detailing, she says.

Step 3: Add your details

It’s time to let your imagination run free. Try adding “a soft application of glitter in the middle of the eyelid, shimmer in the corners, or small touches of contrasting colors to give dimension,” Adam says.
Hart is also a fan of using a brightly colored liner, like about-face’s Line Artist — which has intense pigment payoff and staying power — to create shapes instead of eyeshadow. “Liners tend to be more pigmented and really give you a lot of color payoff,” she says.
However, shadow is still fair game. Want to add another color over your base shadow without them getting muddied up? No sweat. “Place the color down with one brush and blend it out with a separate clean one,” she says. “This really helps the colors blend out seamlessly.” You can find a variety of brush shapes and sizes in the IT Brushes For ULTA Your Multi-Tasker Deluxe Dual-Ended Travel Brush Set.


Step 4: Don’t forget your lashes
Once your shadow and liner are done, “finish the look with a volumizing mascara or a set of eyelashes,” Adam says. (We love Too Faced Better Than Sex Mascara and House of Lashes Iconic Lite False Lashes.) In defining the eyes, this anchors the rest of the look.


